Create a new board
To create a new board, go to Dashboard > Boards, then click the create new button at the top right-hand corner of the screen.
This video features an old user interface and outdated bugs. Updated version coming soon!
A crash course on creating and sharing a board using the PocketQuiver design tool.
View the video transcript to jump to a topic.
0:21 - Board manager overview, including sample boards, custom boards and sample boards
1:32 - Creating a new board
2:29 - Add a CAD file (an AkuShaper .brd file or shape 3d file)
3:13 - Cad file bug **fixed now!** ignore this step!
4:02 - Create a skin. Editing a skin is how you add graphics to your board
5: 33 - Design board page
22:08 - Adding board details
5:39 - The layers palette
7:47 - Hiding layers
9:12 - Reordering layers
6:17 - The properties panel
Speed up your work with templates - tutorial
5:52 - Fins layers or full tutorial
8:06 - Plugs layers
8:26 - Stringer layers
10:46 & 19:16 - Decal layers
12:21 - Spray layers/fill spray
14:32 - Rail spray
17:11 - Stripe spray
18:18 - Laminate layers (tail & rail carbon)
20:53 - Custom layers or full tutorial
full tutorial 🧐
22:34 - View online **this works now!**
23:17 - Export options **these options work now!**
24:05 - Creating renders (render bug fixed now)
In this lesson:
This tutorial takes you through the basic process of making a board in PocketQuiver – Creating a new board, importing a cad file, creating your design then exporting your finished product.
The images used in the video tutorial are available here.
When you first log in, you will go to the Board Manager, a section of the PocketQuiver Dashboard.
The board manager is where you add and organise your boards.
Learn more about the Board Manager.
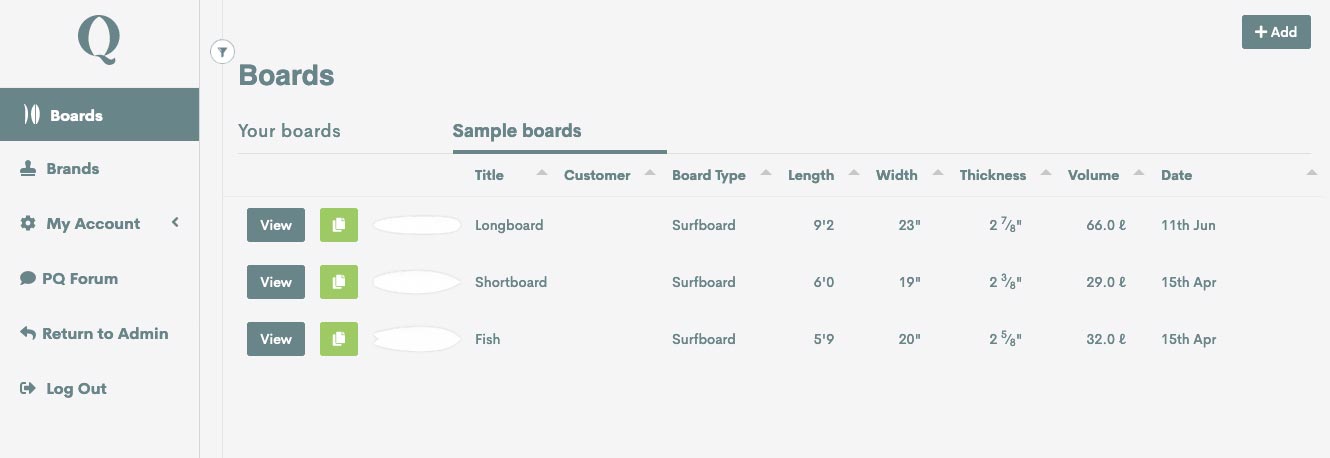
To create a board, you can add a new board or duplicate an existing one.

Create a new board
To create a new board, go to Dashboard > Boards, then click the create new button at the top right-hand corner of the screen.

Duplicate an existing board
To duplicate an existing board, click the green copy button next to an existing board.
The Board Details page is where you add everything associated with a board.
If you create a new board, the Board Details page will open automatically.
If you duplicate or want to edit an existing board, click the edit button next to the board in the Dashboard > Board Manager.
Learn more about the Board Details page.
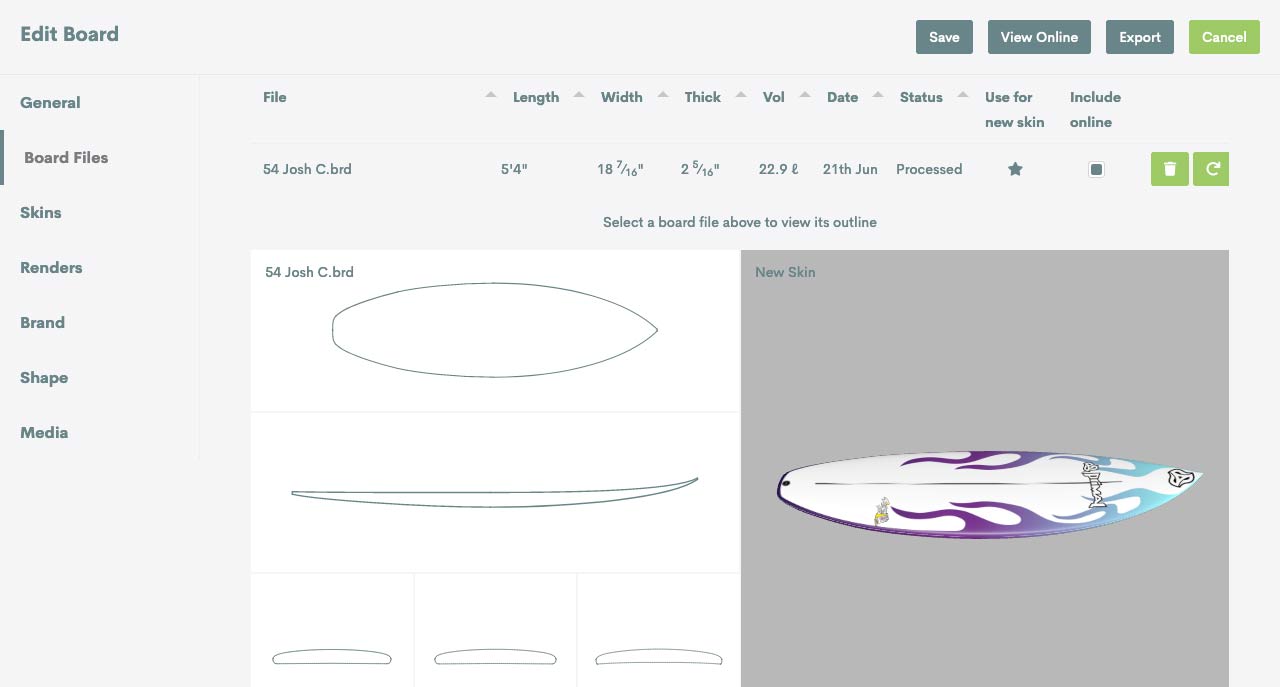
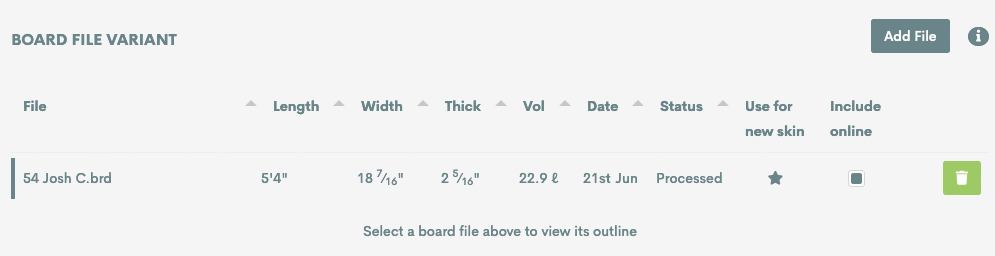
You need to add an AkuShaper or Shape3D file to create the look of your board and display board details.
Learn more about adding AkuShaper and Shape3D files.
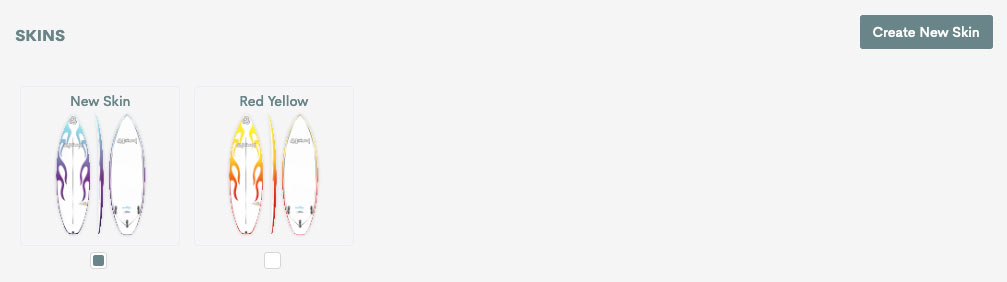
To create the look of your board, you need to create (or edit) a skin.
A skin is a collection of elements(layers) such as decals, stringers, fin boxes and sprays.
Learn more about creating and editing skins.
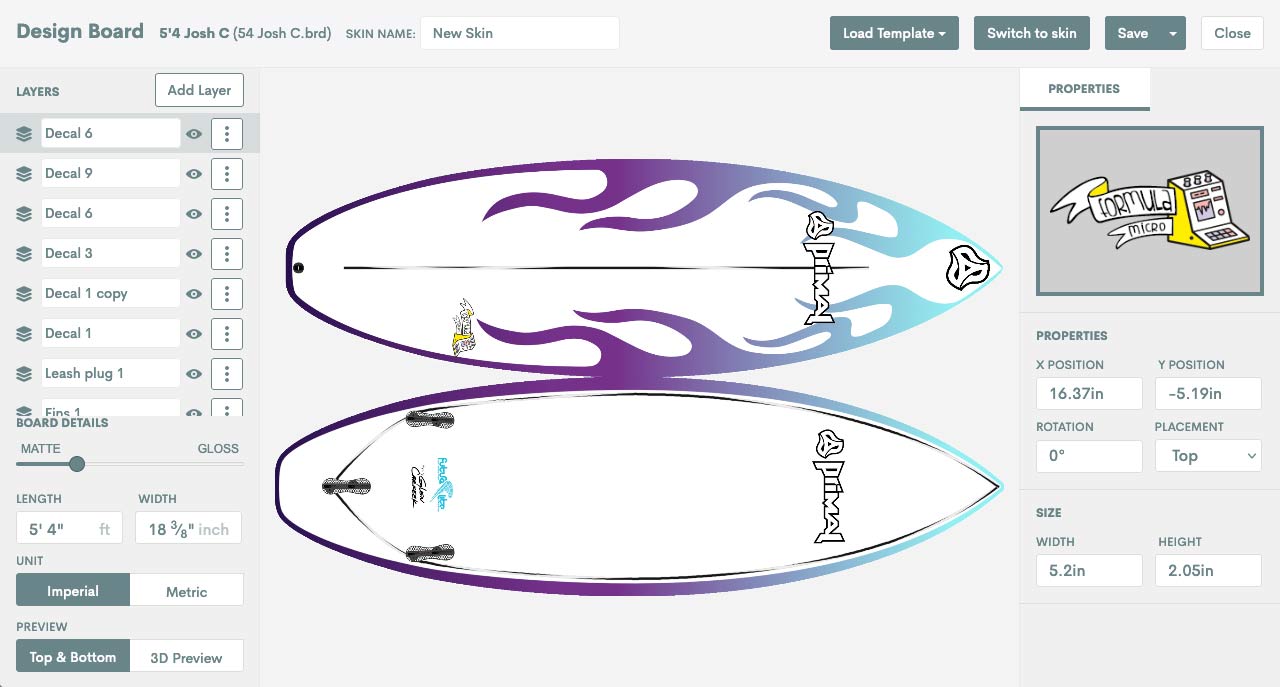
The Design Board page is where you design the look (skin) of a board.
To open the Design Board page, you need to create or edit a skin.
Learn more about the Design Board page.
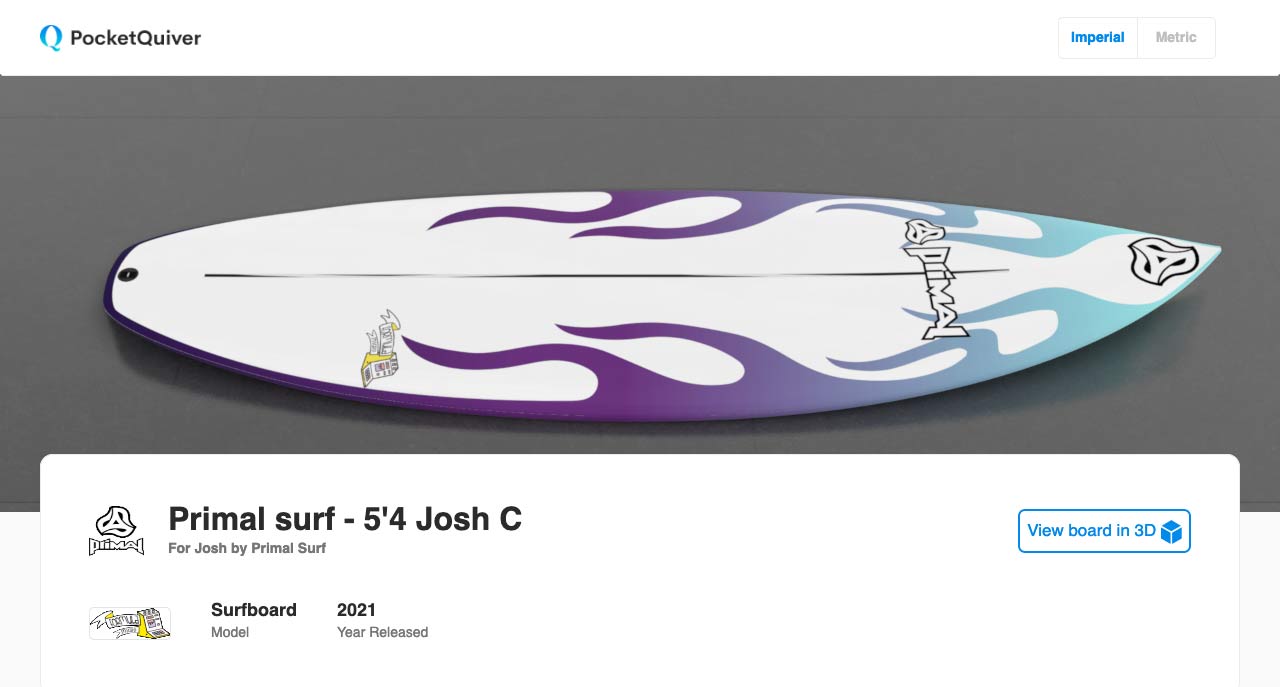
A board image (render) is a photorealistic image created from a board skin.
To render a skin, go to the Board Details page > Renders.
Learn more about creating renders.

There are multiple ways to share your boards.
Learn more about export options.