Adding Board Details
Use the board details page to add cad files and board details
Before you start
You need to open or create a board in the board manager
In this lesson
-
Board description
-
Customer details
-
Adding AkuShaper and Shape3D files
-
Skins
-
Rendering
-
Brand
-
Shape details
-
Media files
Use the board description section to add detail about your boards. This information will be used on the board webpage and for searching and filtering your boards.
Model Logo
To add a model logo, click on the plus icon or the upload model logo button to add a model logo and select a file from your computer.
The board web page and the web download pack both display the board model logo.
Png, svg, gif and jpeg filetypes are all accepted.
Note that jpeg images are generally not suitable as they do not include transparency.
Status
- Selecting the custom board button will add name, email and phone details to the board. Use this option if you are making a board for a specific customer.
- Select the published button to create a board webpage that is available for sharing.
To view and add customer details, first ensure that the custom board option is selected.

Adding AkuShaper and Shape3D files
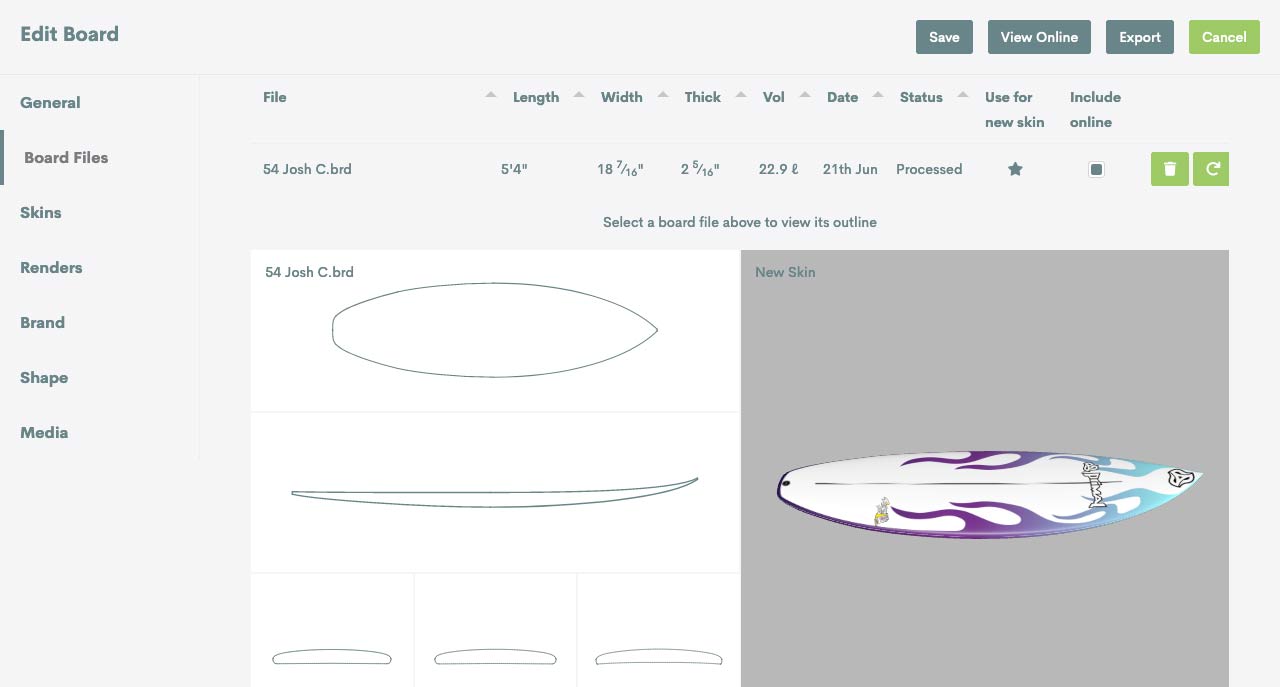
To add a board file:
- Go to Board Details Page > Board Files
- Click on the board files item in the side menu, or scroll to the board file variant section, and then choose add file.
- Select either an AkuShaper .brd file or a Shape3D .s3dx file from your computer. The file will automatically begin processing. When the status displays processed, the board is ready to have graphics (skins) added.
If you don't have a Cad file you can duplicate a sample board, create one using AkuShaper or download one here for free.
Adding multiple files
Adding multiple files is necessary to show a board models range and helpful when developing a new board with a customer. This feature is only available on Craftsman and Manufacturer plans.
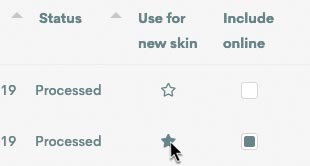
Selecting a file to use for new skins
A file variant with a highlighted star icon will show which file is selected to create a new skin.
To select another file, click on the star of the desired variant.
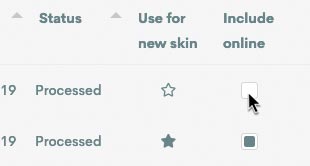
Selecting files to display online
To select which file variants to share, select the corresponding include online checkbox.
Shape3D layers
If a Shape3D file has layers (generally used when adding channels and swallowtails), these will be removed when you import your file.
To display Shape 3D layers:
- In Shape3D, save your file, then export an STL file.
- Upload your Shape3D file to PocketQuiver.
- If layers are detected, an STL button will appear. Click the STL button to upload the STL file.
Creating or editing a design (skin)
To create the look of your board, you need to create (or edit) a skin.
A skin is a collection of elements(layers) such as decals, stringers, fin boxes and sprays.
Craftsman and Manufacturer plans can save multiple skins per board, which is helpful for board models with different layups or to save different designs when developing a custom board.
Create a new skin
To create a new skin:
- On the Board Details page, click on the skins item in the side menu or scrolling to the Skins section.
- Click the create new skin button. This will open the Board Designer.
Once you have saved a skin, it will be accessible in the Skins section.
Edit an existing skin
You can edit, duplicate, save a skin as a template, delete and create a render To access these buttons, hover over a skin thumbnail.
- To edit a board in the board designer, hover over an existing skin thumbnail, then click the pencil icon. This will open the Board Designer.
- To duplicate an existing skin, hover over an existing skin thumbnail, then click the pages icon. Select copy to new skin.
- To save a skin as a template, hover over an existing skin thumbnail, then click the pages icon. Select copy to template.
- To create a render, hover over an existing skin thumbnail, then click the camera icon. This will open the render window.
Selecting skins for display
Highlighting the rectangular include online checkbox will include the basic renders of the skin on the board webpage and the web download pack.
Creating Images (Renders)
Once you have created your design (skin), you can create images (renders).
To create a new render:
1. Navigate to the render section
Click on the renders item in the side menu or scroll down to the renders section, then select create new render.
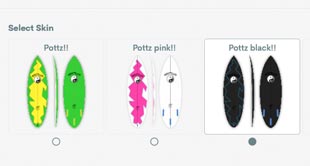
2. Select a skin
Select a skin (if there is more than one), then select next.

3. Choose a render type
Click on the renders item in the side menu or scroll down to the renders section, then select create new render.
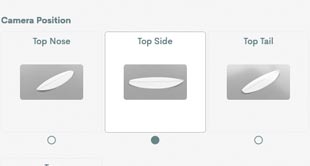
4. Choose a camera position
Choose a camera position, then select next.
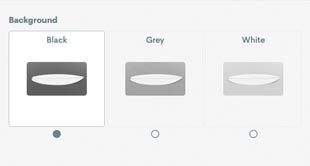
5. Select a background
Select a background (studio renders only) and select ok. The render will be submitted for processing
Managing Renders
Once you have created a render, it will be accessible in the render panel.
You can rearrange renders by clicking and dragging the render thumbnail. You can delete renders by clicking on the trash icon. You can also view renders full size or download renders by clicking on the render thumbnail or the eye icon then choosing export.
- Rearrange renders by clicking and dragging the render thumbnail.
- Delete renders by clicking on the trash icon.
- View renders full size by clicking on the render thumbnail or the eye icon > export > display high-res image.
- Download renders by clicking on the render thumbnail or the eye icon > export > download high-res image.
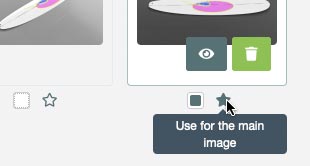
Choosing a hero image
A highlighted Star icon shows the image selected as the hero image for the board webpage.
To select another file for the hero image, click on the star of the desired render.
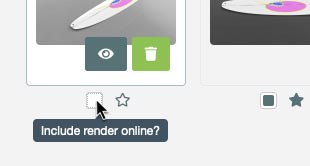
Selecting renders for display
To select which renders to share, select the rectangular include online checkbox of the desired render.
Your brand is displayed when you export a board.
To add a brand:
- Click on the brand item in the side menu or scroll down to the brand section
- Click on the brand thumbnail and select a brand.
You can add any extra board information not included in the main description here.
You can attach related images or videos here. This media will appear on the board webpage and in the web download pack.

